Before the plane doors open
Two things should already be done, and both are easier at home.
Your eTravel registration, completed within the 72-hour window before arrival and saved offline as a screenshot or printout. It is free, and the government's guidance is that only the official site should be used.
Your accommodation booking, confirmed, with the full address written down rather than just the name. Manila has multiple properties with similar names across different cities within the metro area, and a driver needs the district as much as the brand.
In the terminal
Get through immigration, collect your bags, and then do exactly two things before leaving the building.
Get pesos. The airport publishes ATM, bank and money changer locations by terminal and level. Take enough for your ride and the evening, and try to end up with small notes rather than a single large one, since change is a genuine constraint for taxi drivers and small vendors.
Then choose a ride from an official point. The airport separates coupon taxis with fixed rates set by the transport franchising board, yellow metered airport taxis and regular metered taxis, each with its own stand, and app rides operate from a dedicated hub at the Terminal 3 car park. Staff hand you a dispatch slip when you take an accredited taxi, and the instruction is to keep it rather than give it to the driver.
Getting online
If you did not buy an eSIM before flying, this is the moment to decide whether you need a local SIM at all. Philippine law requires SIM registration, and tourist registration needs your passport, a Philippine address and a return ticket, so have the address ready if you are queuing at a counter.
Many travellers on a short trip get by on accommodation wifi plus an eSIM bought in advance. Either way, download offline maps before you rely on them.
The ride into the city
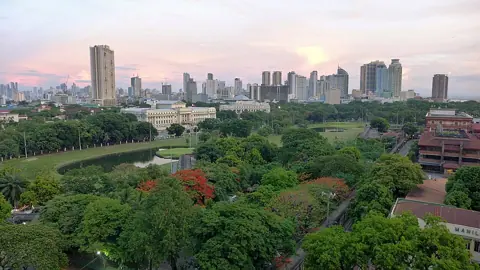
Expect the journey to take longer than the map suggests, and expect it to vary enormously by time of day. This is the single most useful thing to internalise on day one, because it reframes the rest of your trip: distances in Metro Manila are measured in traffic, not kilometres.
Use the ride to look out of the window rather than to plan. You will learn more about the city's shape in that half hour than from an hour of reading.
Once you have dropped your bags
Resist the urge to cross the city. A good first evening looks like this: walk the immediate area, find a supermarket or convenience store, buy water, eat somewhere within a short distance, and get a sense of which direction the nearest transport is.
If your trip involves the rail lines at all, buy a beep card early. It is the stored-value card accepted on LRT-1, LRT-2 and MRT-3 as well as some city and point-to-point buses, sold at station booths and ticket vending machines and reloadable at stations, through its app, or via mobile wallets. Buying it on a quiet first evening beats buying it in a rush-hour queue.
What to leave for day two
Anything that requires crossing the metro area. Anything with a fixed start time. Anything involving a long outdoor walk in the middle of the day.
Day two is when a plan makes sense, because by then you know how long a journey actually takes, you have money in the right denominations, you are online, and you have some feel for the district you are based in.
A short first-day list
Arrive with eTravel saved offline. Withdraw or change cash, in small notes. Take an accredited taxi or an app ride from the official points. Get online. Drop your bags, walk your immediate neighbourhood, eat locally, buy a beep card if you will use the trains. Sleep. Plan tomorrow tomorrow.